
Google Dialogflow ES
Live Hub connects to an agent built in Google Dialogflow ES. Dialogflow supplies its own speech services, so Google is the only speech-to-text and text-to-speech option, and there is no separate speech provider to add.
This bot framework is not available to accounts created from the Azure Marketplace.
There are two ways to create the connection, and the bot connection card records which one you used:
| Route | Start from | 'Integration' value |
|---|---|---|
| One click | The Dialogflow console, using its AudioCodes integration | One click |
| Manual | Live Hub, pasting the service account credentials | Manual |
Set up from Dialogflow (one click)
Live Hub sends you to Google to create the agent, and Dialogflow's AudioCodes integration then redirects you back to Live Hub to finish the bot connection.
One-click telephony expects a working bot, so build the agent's intents and entities, or start from a pre-built agent.
To set up from the Dialogflow console:
-
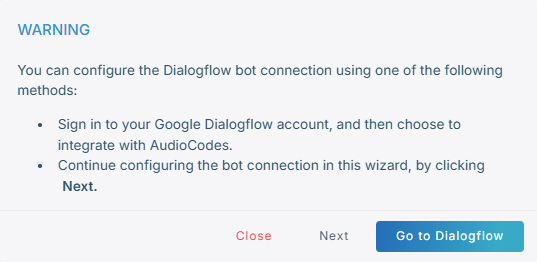
In the Navigation pane, select Bot connections, click Add new voice bot connection, select Dialogflow ES, and then click Next.
-
Click Go to Dialogflow.
-
Sign in with your Google account, and then click Next.
-
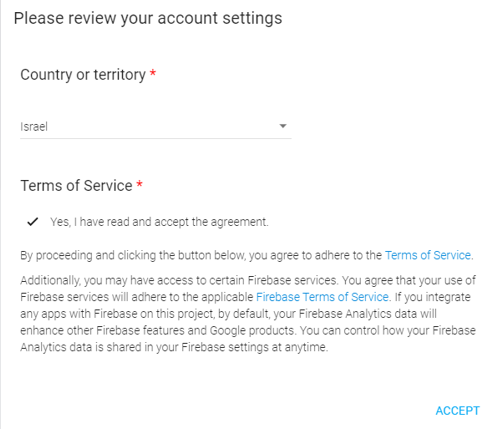
Review and accept your account settings.
-
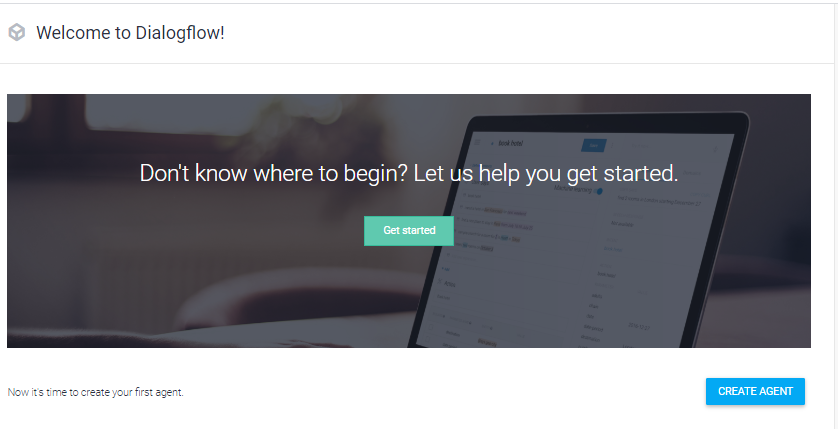
On the Welcome to Dialogflow page, click Get started.
-
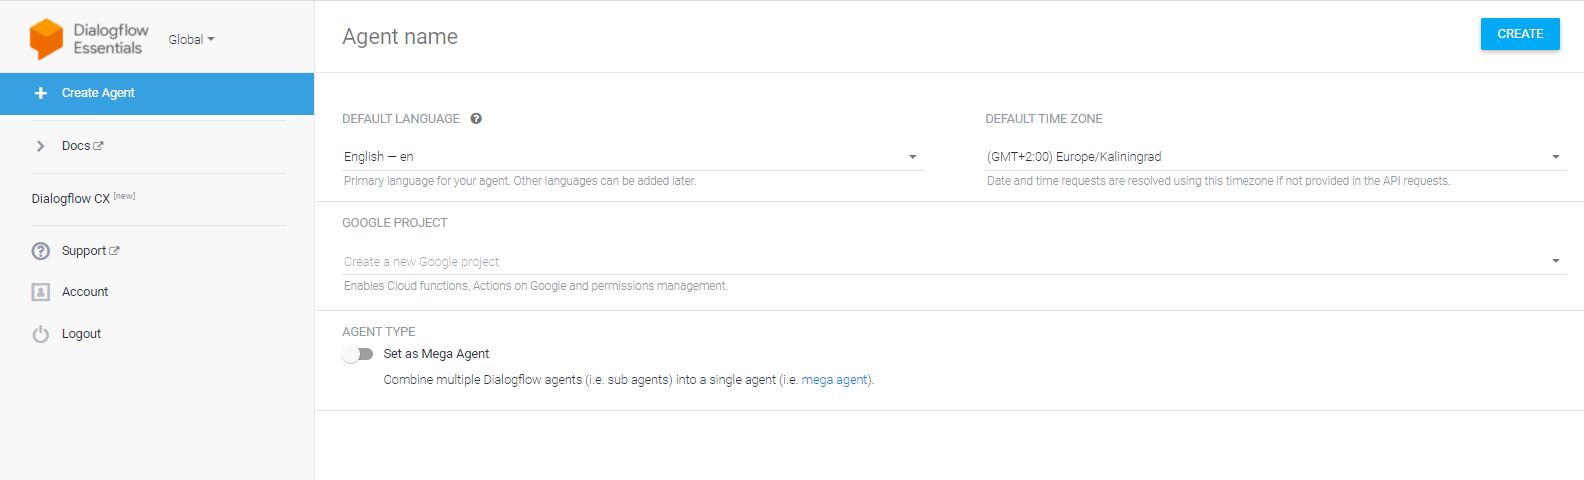
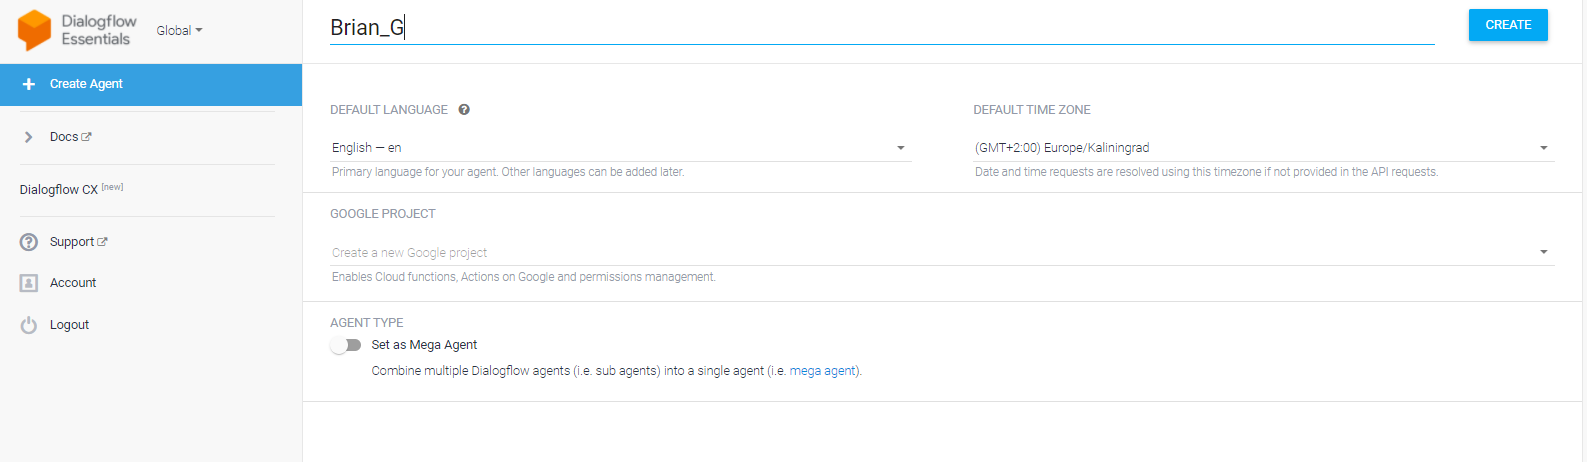
In the navigation bar, select CREATE AGENT, and then fill in your details.
-
Name the agent, and then click CREATE.
The agent name takes alphanumeric characters only: no spaces, no punctuation.
-
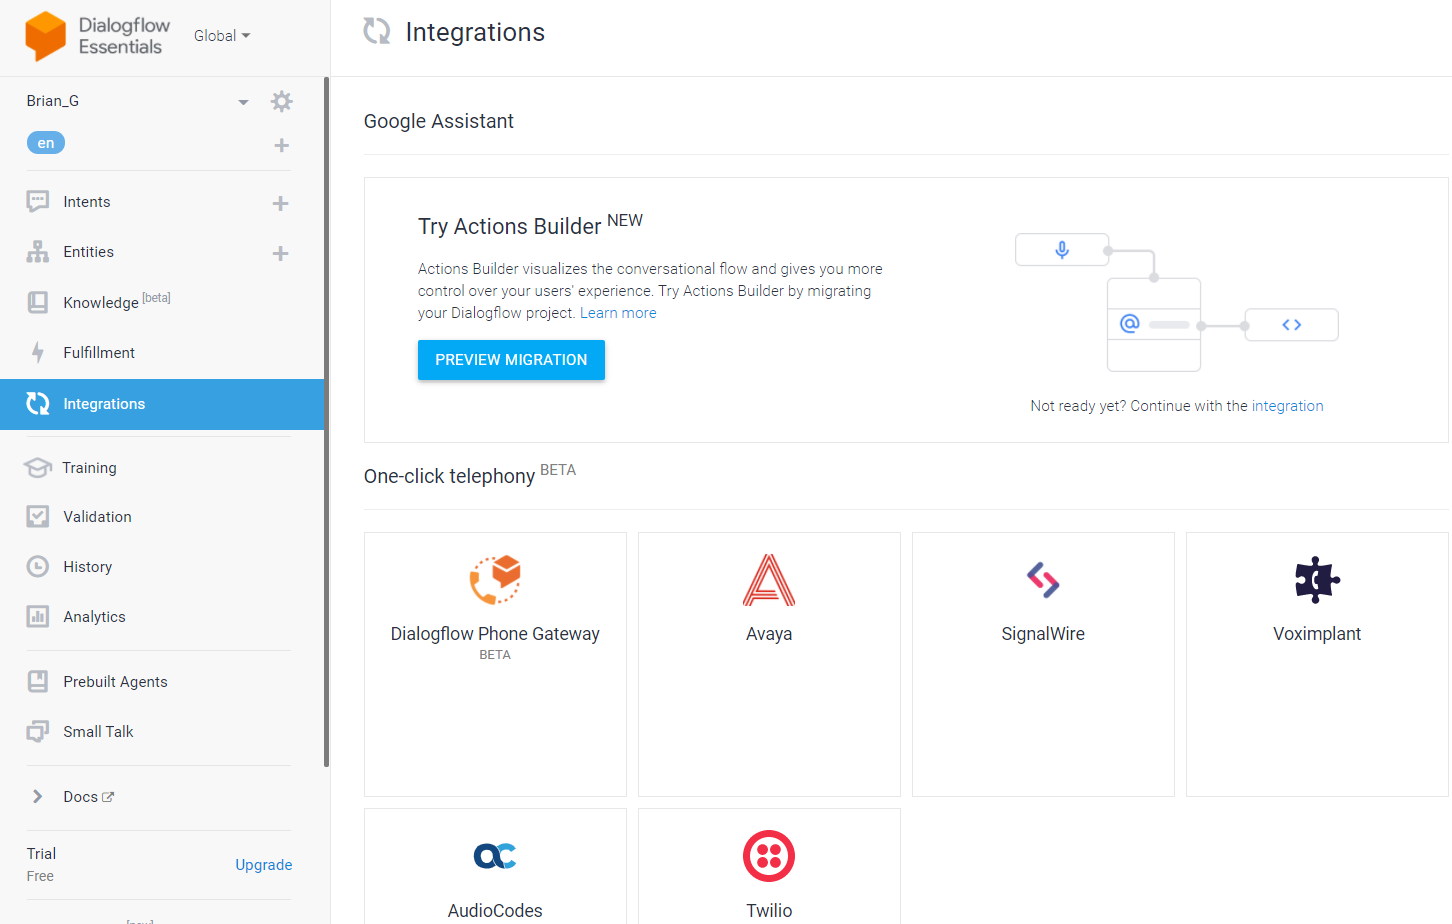
In the navigation bar, select Integrations, and then click the AudioCodes icon.
-
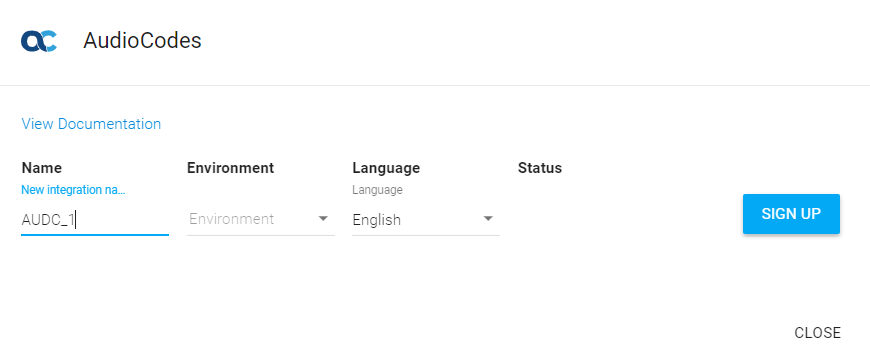
In the 'Name' field, enter the integration name, and then click SIGN UP.
-
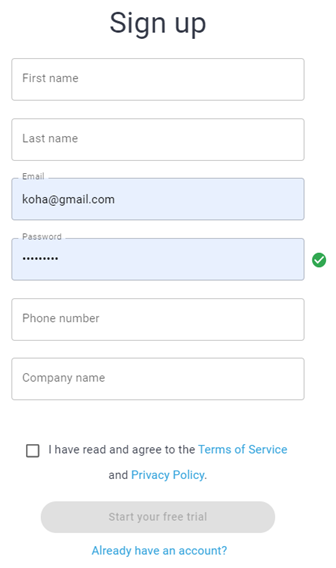
Click Start your free trial, or, if you already have an account, enter your credentials and click Sign in.
-
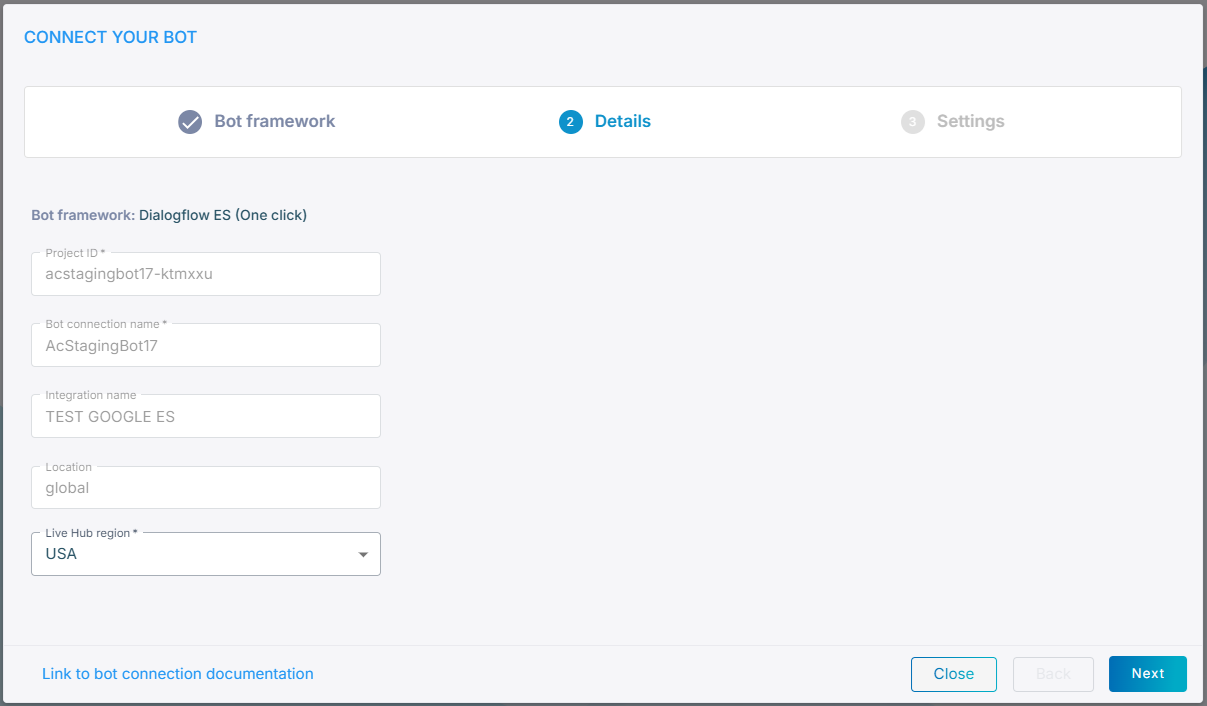
Fill in the bot details, and then click Next.
-
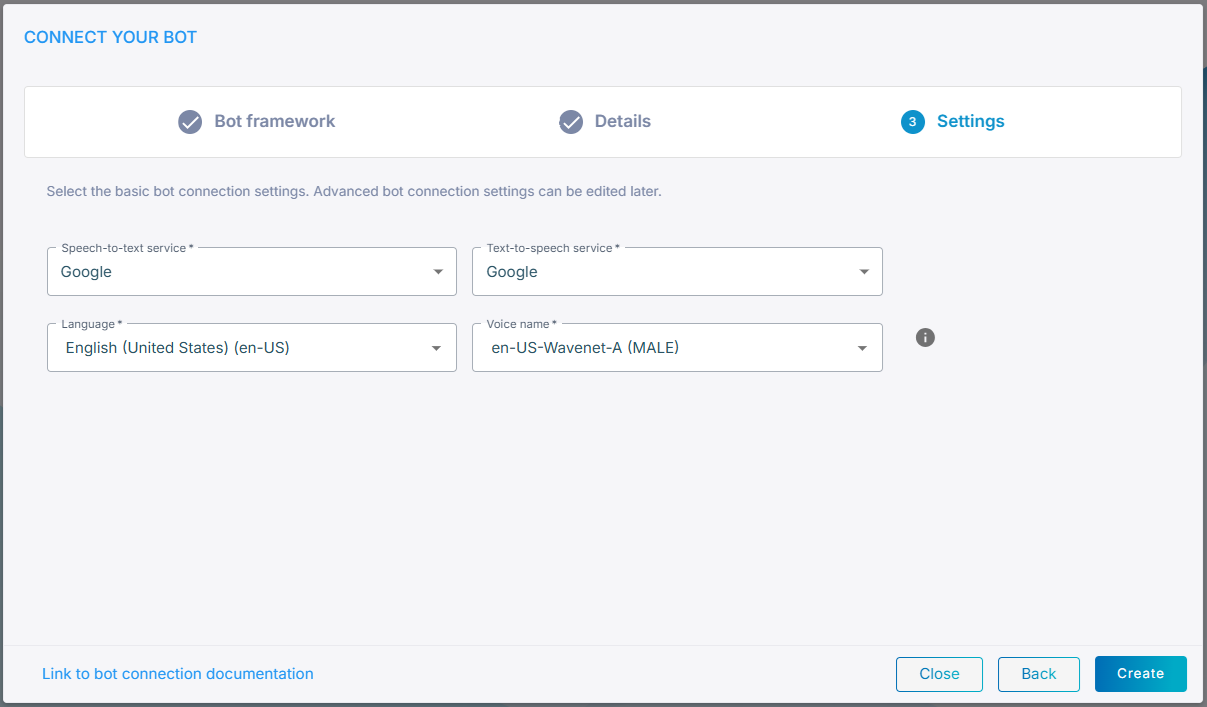
Fill in the bot settings, and then click Next.
-
Click Create.
Set up in Live Hub
Take this route to enter the Google service account credentials in Live Hub yourself, rather than starting from the Dialogflow console.
To set up the connection in Live Hub:
-
In the Navigation pane, select Bot connections, click Add new voice bot connection, select Dialogflow ES, and then click Next.
-
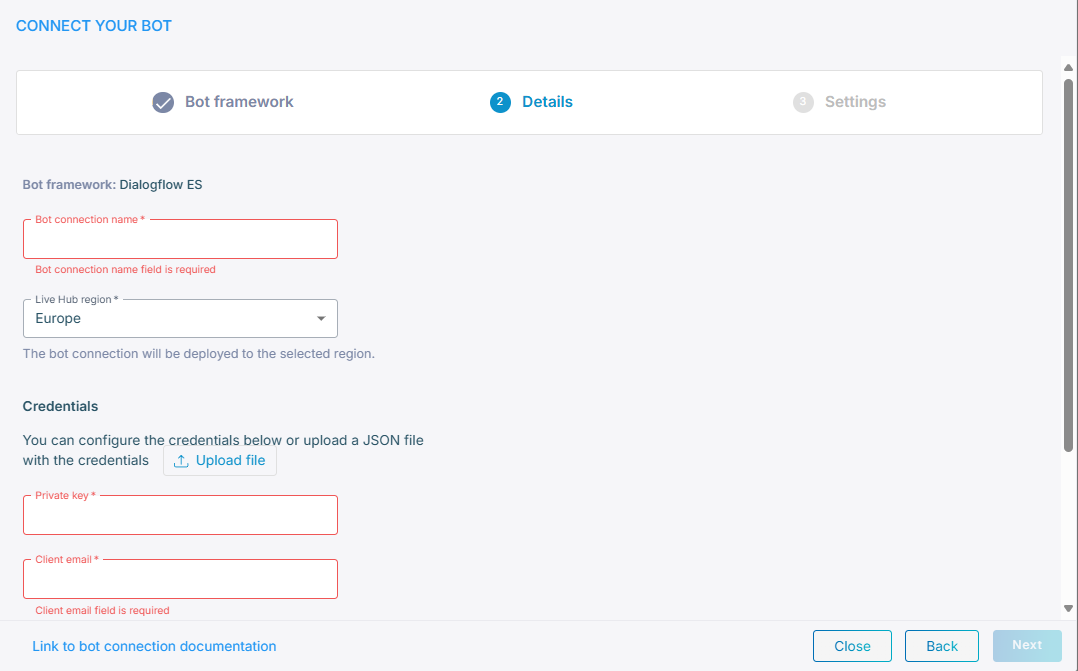
Click Next again to configure the account here rather than at Google.
-
On the Details tab, in the 'Bot connection name' field, enter a name for the bot connection.
-
From the 'Live Hub region' drop-down list, select the region your Live Hub voice infrastructure runs in. See Global region support.
-
Under Credentials, either click the upload icon
 and select the Google
service account JSON file, or fill in the fields yourself:
and select the Google
service account JSON file, or fill in the fields yourself:- 'Private Key' — the private key configured for the Google speech service.
- 'Client email' — the client's email address.
- 'Project ID' — the Google Cloud project ID.
-
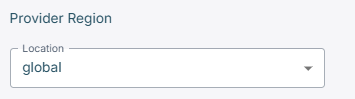
Under 'Provider Region', from the 'Location' drop-down list, select the region the provider runs in.
-
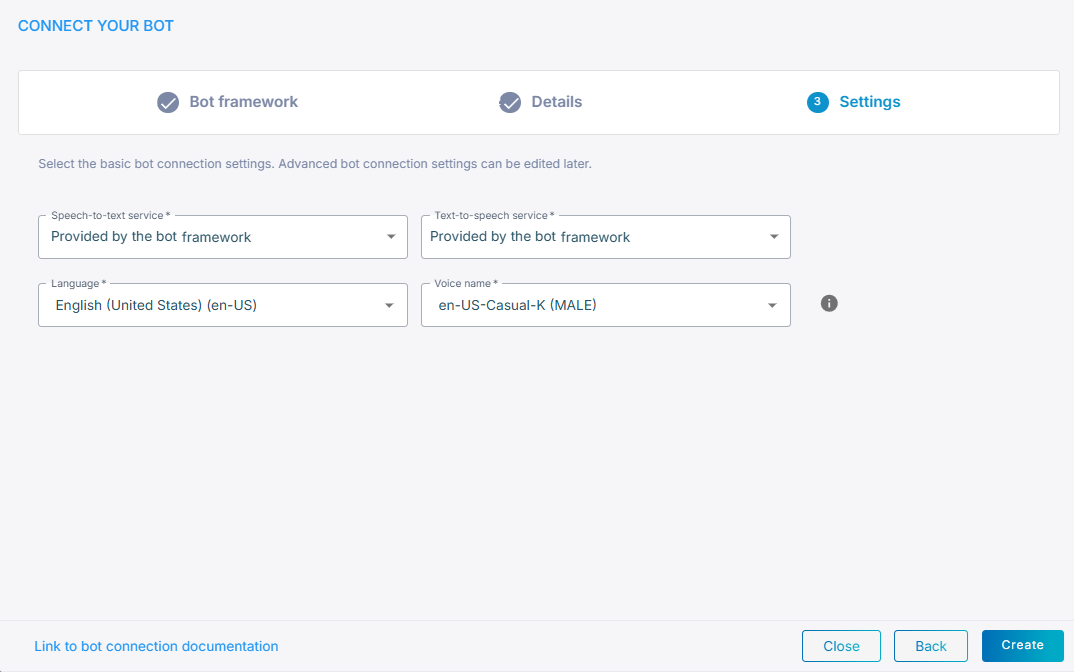
Click Next.
-
Leave 'Speech-to-text service' and 'Text-to-speech service' set to Google. Dialogflow supplies both, and no other provider can be selected here.
-
Click Create.